In this article we will discuss the configuration of some of the important List Settings for SharePoint Online Lists. Though I have taken only a handful of operations to showcase in this demo, but remember there are lot more to explore.
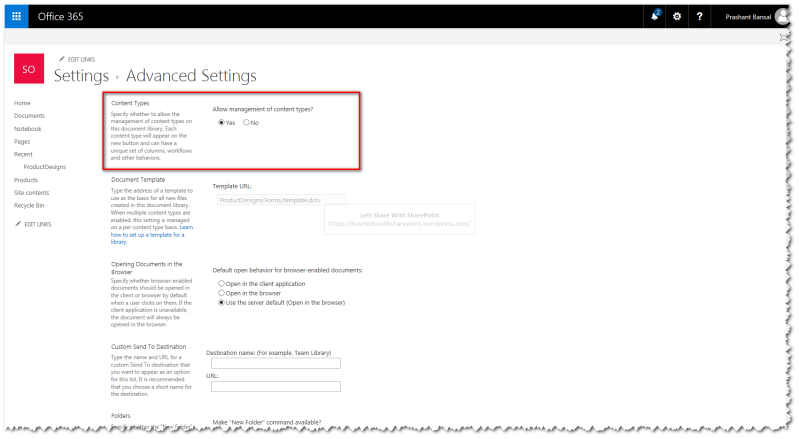
Operation: How to enable “New Folder” Menu Command
We can see this setting available under “Advanced Settings” for the list as shown below-

We can play with this setting using PowerShell as described below-

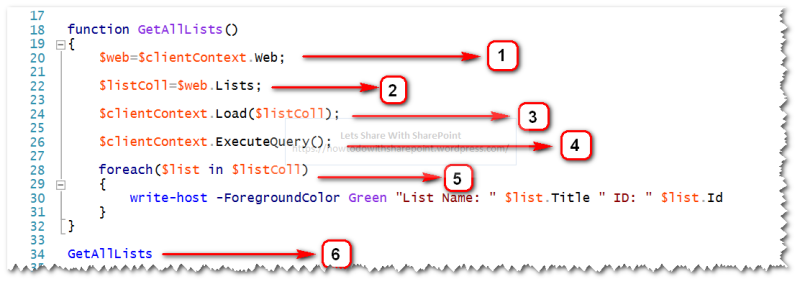
In Step 1 we will get the object reference to the respective list by calling “GetByTitle” method
In Step 2 we will set “EnableFolderCreation” to True
In Step 3 we will update the list property by calling “Update” method
In Step 4 we will send the batch request to SharePoint Server for processing by calling “ExecuteQuery” method
In Step 5 we will display success message to the Users if Step 4 executes successfully
In Step 6 we will call function that we have explained in Step 1-5
Once this script executes successfully we can see list setting updated by navigating “Advanced Settings” of the list as shown below-

Operation: How to disable “List Item Attachments” Option
We can see this setting available under “Advanced Settings” for the list as shown below-

We can play with this setting using PowerShell as described below-

In Step 1 we will get the object reference to the respective list by calling “GetByTitle” method
In Step 2 we will set “EnableAttachments” to False
In Step 3 we will update the list property by calling “Update” method
In Step 4 we will send the batch request to SharePoint Server for processing by calling “ExecuteQuery” method
In Step 5 we will display success message to the Users if Step 4 executes successfully
In Step 6 we will call function that we have explained in Step 1-5

Once this script executes successfully we can see list setting updated by navigating “Advanced Settings” of the list as shown below-

Operation: How to enable “Quick Launch” Option for List
We can see this setting available under “General Settings” for the list as shown below-

We can play with this setting using PowerShell as described below-

In Step 1 we will get the object reference to the respective list by calling “GetByTitle” method
In Step 2 we will set “OnQuickLaunch” to True
In Step 3 we will update the list property by calling “Update” method
In Step 4 we will send the batch request to SharePoint Server for processing by calling “ExecuteQuery” method
In Step 5 we will display success message to the Users if Step 4 executes successfully
In Step 6 we will call function that we have explained in Step 1-5

Once this script executes successfully we can see list setting updated by navigating “General Settings” of the list as shown below-

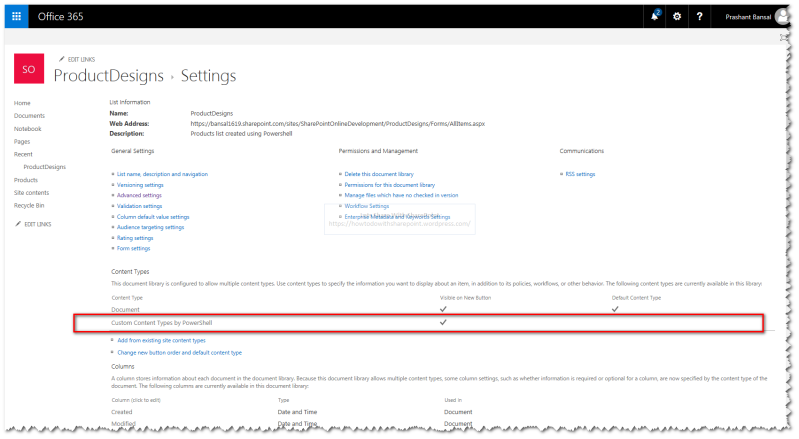
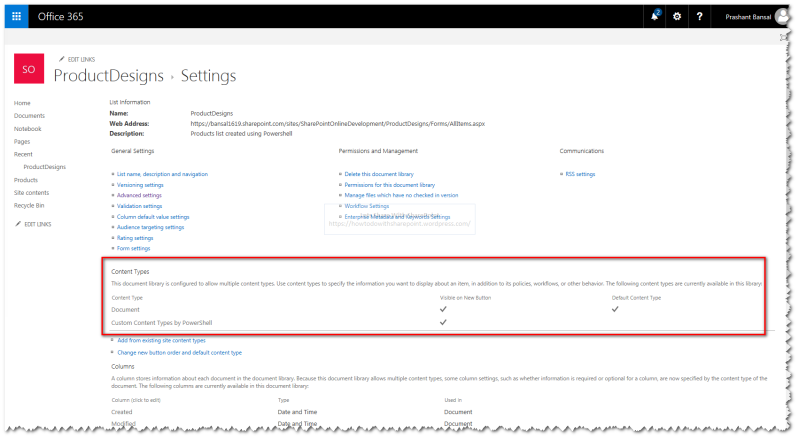
Operation: How to enable “Version History” for List Item Attachments
We can see this setting available under “Versioning Settings” for the list as shown below-

We can play with this setting using PowerShell as described below-

In Step 1 we will get the object reference to the respective list by calling “GetByTitle” method
In Step 2 we will set “EnableVersioning” to True
In Step 3 we will update the list property by calling “Update” method
In Step 4 we will send the batch request to SharePoint Server for processing by calling “ExecuteQuery” method
In Step 5 we will display success message to the Users if Step 4 executes successfully
In Step 6 we will call function that we have explained in Step 1-5

Once this script executes successfully we can see list setting updated by navigating “Versioning Settings” of the list as shown below-

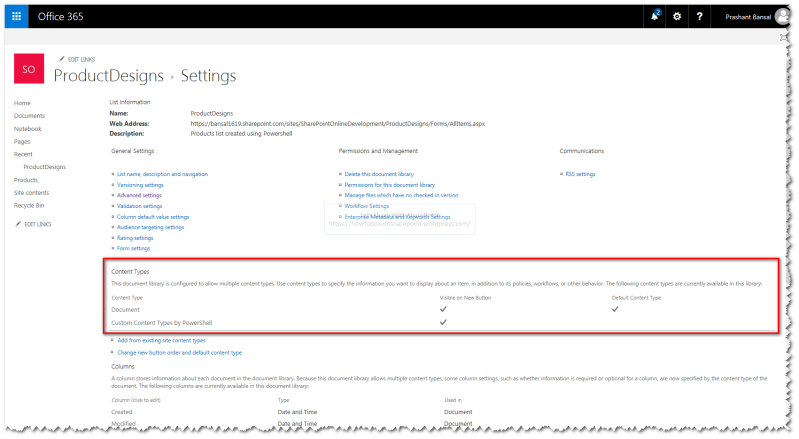
We may work on additional version settings as well as shown below-

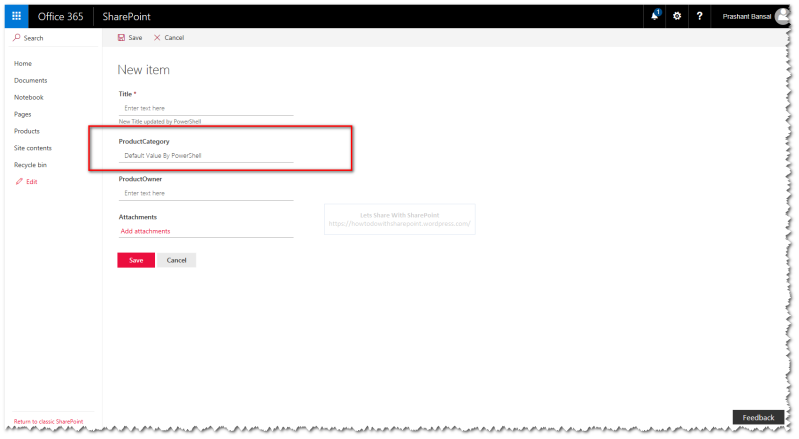
For example let try to enable Minor Versions for a document library “ProductDesigns” by using PowerShell
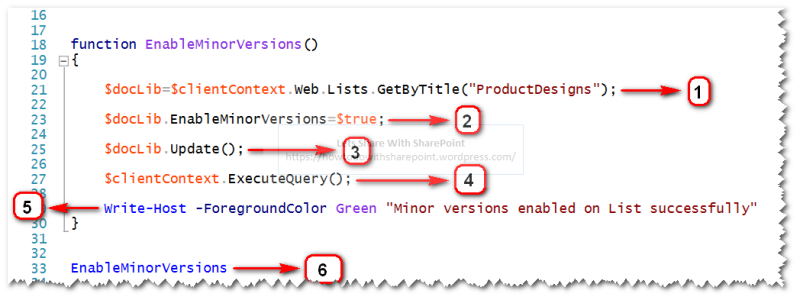
In Step 1 we will get the object reference to the respective list by calling “GetByTitle” method
In Step 2 we will set “EnableMinorVersions” to True
In Step 3 we will update the list property by calling “Update” method
In Step 4 we will send the batch request to SharePoint Server for processing by calling “ExecuteQuery” method
In Step 5 we will display success message to the Users if Step 4 executes successfully
In Step 6 we will call function that we have explained in Step 1-5

Once this script executes successfully we can see list setting updated by navigating “Versioning Settings” of the list as shown below-

Operation: How to enable “Require Check Out” Option
We can see this setting available under “Versioning Settings” for the list as shown below-

We can play with this setting using PowerShell as described below-

In Step 1 we will get the object reference to the respective list by calling “GetByTitle” method
In Step 2 we will set “ForceCheckOut” to True
In Step 3 we will update the list property by calling “Update” method
In Step 4 we will send the batch request to SharePoint Server for processing by calling “ExecuteQuery” method
In Step 5 we will display success message to the Users if Step 4 executes successfully
In Step 6 we will call function that we have explained in Step 1-5

Once this script executes successfully we can see list setting updated by navigating “Versioning Settings” of the list as shown below-

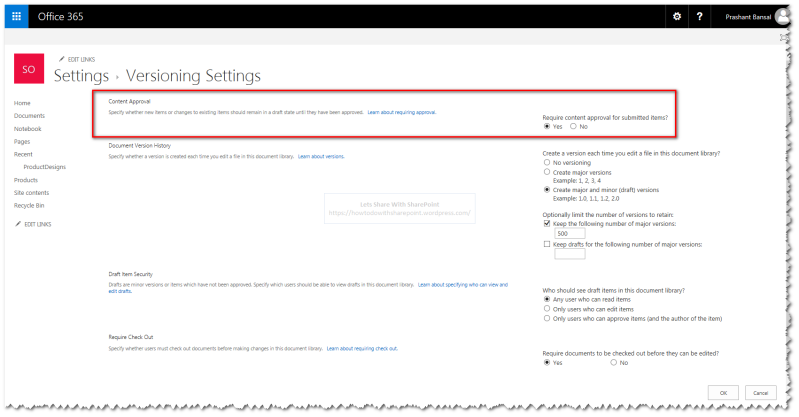
Operation: How to enable “Require Content Approval” Option
We can see this setting available under “Versioning Settings” for the list as shown below-

We can play with this setting using PowerShell as described below-
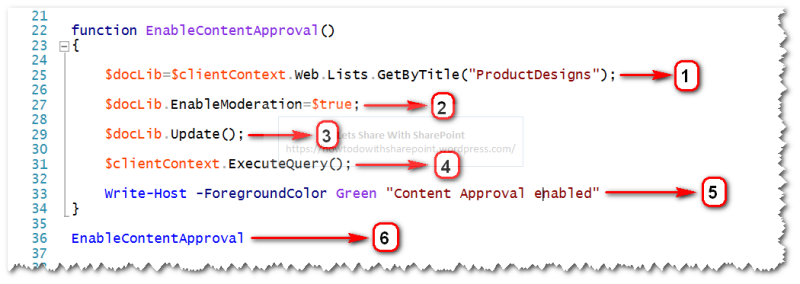
In Step 1 we will get the object reference to the respective list by calling “GetByTitle” method
In Step 2 we will set “EnableModeration” to True
In Step 3 we will update the list property by calling “Update” method
In Step 4 we will send the batch request to SharePoint Server for processing by calling “ExecuteQuery” method
In Step 5 we will display success message to the Users if Step 4 executes successfully
In Step 6 we will call function that we have explained in Step 1-5

Once this script executes successfully we can see list setting updated by navigating “Versioning Settings” of the list as shown below-
Operation: How to configure “Draft Item Security” Option
We can see this setting available under “Versioning Settings” for the list as shown below-

We can play with this setting using PowerShell as described below-

In Step 1 we will get the object reference to the respective list by calling “GetByTitle” method
In Step 2 we will set “DraftVersionVisibility” to “Approver”. This setting will limit access to the draft items for the Approvers only.
In Step 3 we will update the list property by calling “Update” method
In Step 4 we will send the batch request to SharePoint Server for processing by calling “ExecuteQuery” method
In Step 5 we will display success message to the Users if Step 4 executes successfully
In Step 6 we will call function that we have explained in Step 1-5

Once this script executes successfully we can see list setting updated by navigating “Versioning Settings” of the list as shown below-

That is all for this demo.
Hope you find it helpful.