SharePoint 2013 : How to Copy Reusable Workflows from one site to another using Deployment Service

In this article we will be exploring a solution to the one of the most obvious problems with SharePoint Designer Workflows i.e. copying the SharePoint Designer Workflow from one site to another.

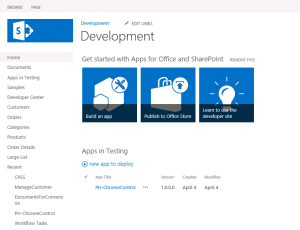
In order to set the demo environment, I have got one site created called “Development” as shown below:

1

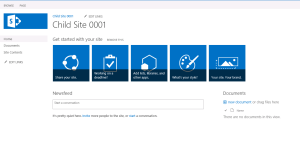
Since this demo needs to have another site also, so we got one more site created called “Child Site 0001”, which is a child site to “Development” Site as shown below:

2

Next thing is to launch SharePoint 2013 Designer, and connect to “Development” Site and browse Workflow section as shown below:

3

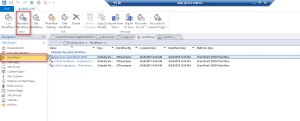
Now in order to showcase how to copy a Workflow from one site to another, we need to create a workflow (SharePoint 2013 Platform) no matter if it is Reusable or List Workflow.

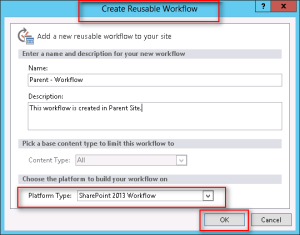
In this demo we would be creating a Reusable Workflow as shown below:

4

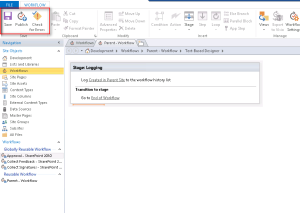
Keeping this workflow functionality as simple as possible, we will add only one activity “Log to History List” and set the message to be displayed in the History Log, Check for Errors, Save Workflow Definition and lastly Publish Workflow Definition as shown below:

5

As soon as we are done with the steps above we can see a new Workflow added to the Reusable Workflow Section as shown below:

6

Now let’s add this workflow to a list and see it in action.

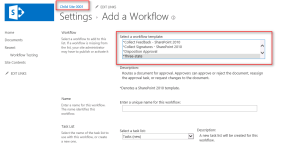
Visit any list and from the Ribbon choose Workflow Settings => Add a workflow as shown below:

7

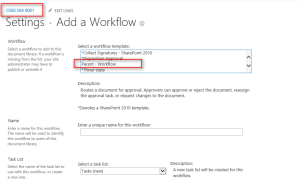
Select a workflow that we have just published.

8

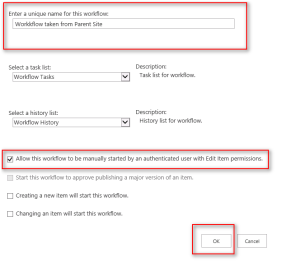
Configure the workflow association as shown below:

9

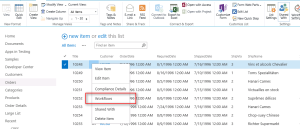
Now Start the workflow on any list item as shown below:

10

11

12

13

And that’s it. We are all done with our preparations on Parent Site.

Now it is time to move on to Child Site and see what it is up to.

So if we investigate the Child Site through SharePoint Designer we found currently no workflow is listed under Reusable Workflow Section.

14

Also if we verify the list of available Associations on any list, we won’t find any such Workflow listed under as shown below:

15

In order to trigger workflow copy action we got a super simple User Interface ready with a single button “Copy Workflow to Child Site” which is hooked up with an event handler that will execute the code to Copy the Workflow from Parent to Child Site.

16

Now as I promised in one of my earlier Blogs on Workflow services, we would need the Key information on workflow in Parent Site to get it copied to Child Site.

In case you like to know exactly how can we get this key information about a workflow please visit my blog SharePoint 2013 : Introduction to Workflow Services API.

17

Now let’s do the code dissection to know the complete driving logic as referred in the code below:

18

1.Specify the Workflow GUID which you want to Copy from one site to another

2.Get the Current Web and Collection of Webs inside it as we need to copy Workflow to a child site of the current site.

3.Create an Instance of WorkflowServiceManager to start the interaction with Workflow Manager Component with reference to the Parent Site

4.Get the Workflow Definition based on the Workflow GUID specified in step 1

19

20

5.Set the Workflow Display Name in the Child Site, this is a mandatory step which should not be ignored. The Key take away here is that we need to set the Display Name of this workflow same as it was in Parent Site, else it would not get saved.

6.Get the reference of the Child Site

7.Call the SaveWorkflowDefinition custom function by passing reference to the Child Site.

8.In SaveWorkflowDefinition custom function create an instance of WorkflowServiceManager to start the interaction with Workflow Manager Component but this time using the reference of Child Web

9.Save Workflow Definition

10.Publish Workflow Definition to Child Site

Once we are done with all the steps we can surely see a new Workflow that has been added to the Reusable Workflow section on the Child Site.

21

If we launch the child site in browser and visit any list to see the available Workflow Associations which are available to the List, we will get the new workflow (which is just copied from Parent Site) listed as shown below:

22

23

24

Now in order to test this workflow, add it to the list and configure the association as needed.

25

Now Start the workflow on any list item in the list.

26

27

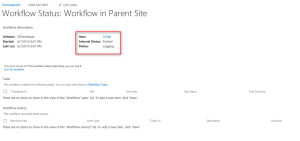
And if we can see the same output as Parent Site then this will prove that the Workflow Definition is copied correctly from the Parent Site.

28

Though this is quite a simple approach but can be leveraged to implement & automate more complex business solutions.

Hope you find it helpful.

See you in the next article in this series. Stay tuned!!

SharePoint 2013 : Introduction to Workflow Services API

Workflow Services API are one of the newest feature extensions that are shipped with SharePoint 2013. These API allows you to perform lot of operations on Workflows couple of them is shown in the list below:

  1. Create Workflows
  2. Edit Workflows
  3. Start Workflows
  4. Stop Workflows
  5. List Workflows
  6. Copy Workflows from one site to another
  7. Associate Workflows to lists
  8. Export Workflows to WSP …. And the list goes on

Being this API a part of SharePoint CSOM, it is accessible using both JavaScript & C# Managed Code.

Workflow Services are primary meant to work with SharePoint 2013 Workflows (or WF4 Workflows) but also shipped with limited support for SharePoint 2010 Workflows (or WF3 Workflows).

The Workflow Services API consists of 4 Services to deal with different scenarios:

  1. Workflow Instance Service
    1. Can be used to Query Workflow Instances
    2. Can be used to Create new Instances based on existing Associations
    3. Can be used to Create new Instances on List Items and Sites
    4. Can be used to Communicate existing Instances
      1. To Cancel Workflow
      2. To Terminate Workflow
      3. Publish Custom Events
  2. Workflow Subscription Service
    1. Can be used to Query Workflow Associations
    2. Can be used to Create Workflow Associations
  3. Workflow Deployment Service
    1. Can be used to Query Workflow Definitions
    2. Can be used to Validate Workflow Definitions
    3. Can be used to Create Workflow Definitions
    4. Can be used to Validate Workflow Definitions
  4. Workflow Interop Service
    1. Can be used to Interact with SharePoint 2010 Workflows in SharePoint 2013

In this first article on Workflow Service we will consider a very simple scenario where we will list down all the workflows created [only WF4 Workflows] with in a site, to see important details like Name, ID and Published Status.

In order to step up this demo I have one site “Development” which is created as shown below:

1

If we open this site in SharePoint Designer, and visit the Workflow Section on the left as shown below, we found no workflows has been created as of now.

2

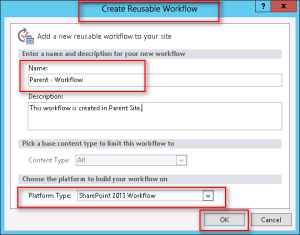
So first of all let’s create a new Reusable Workflow, give it a name “Parent – Workflow”. Make sure Platform Type must be “SharePoint 2013 Workflows”.

Click Ok to save the Workflow definition.

3

Now add a simple step called “Logging” to this workflow and add a “Log to History” activity to this list.

Check for the errors

Save the workflow

Publish the workflow as shown below:

4

Once you publish the workflow it will be place on the right container in SharePoint Designer.

5

Now go to any list and add this workflow to the list

6

7

In the similar fashion create another workflow and let say called it as “Unpublished Workflow”, the only difference this time is we are not going to publish it.

Just create it and save it, that’s all.

8

OK, this will suffice to prepare our environment for this demo.

Now the next task in line is to create a UI element that can trigger the action to list workflows. For this I have created a simple page with a Button on it “List Workflows”

9

The simple HTML that bring this button up is as follows

10

This button is hooked up with an Event Handler named “ListWorkflow()”

In order to implement the logic behind this Event Handler, we need to include the necessary references in our code:

  1. JQuery.js
  2. MicrosoftAjax.js
  3. SP.Runtime.js
  4. SP.js
  5. SP.Core.js
  6. SP.WorkflowServices.js

11

Then proceed with the code as follows:

12

  1. Initialize Context Variable
  2. Initialize the Service Manager object in context of the current site
  3. Initialize Workflow Deployment Service Instance

13

  1. Get Handle on Workflow Definitions Collection
  2. Get Current Workflow Definition
  3. Retrieve Workflow Properties from Workflow Definition

You can view all the properties exposed by Workflow Definition by placing breakpoint on line 5 shown above:

14

For this demo, I have taken only four properties to display:

  1. Workflow ID
  2. Workflow Display Name
  3. Workflow Description
  4. Workflow Published Status

So we click “List Workflow” button we can be able to see the selected details for the Workflow Definitions which are stored on a specific site as show below:

15

  1. Click Button
  2. Site URL for which the Workflow Definitions are listed
  3. Workflow definition details

The information shown above is really useful to work with any Workflow Definition and we will be going to see this information in action in the series of upcoming articles on Workflow Services dealing with a bit more advanced scenario.

You can visit the next post in this series:

SharePoint 2013 : How to Copy Reusable Workflows from one site to another using Deployment Service